How to Take the Perfect Car Photo for AI Editing
ModDrip Team · 2026-08-06 · 4 min read
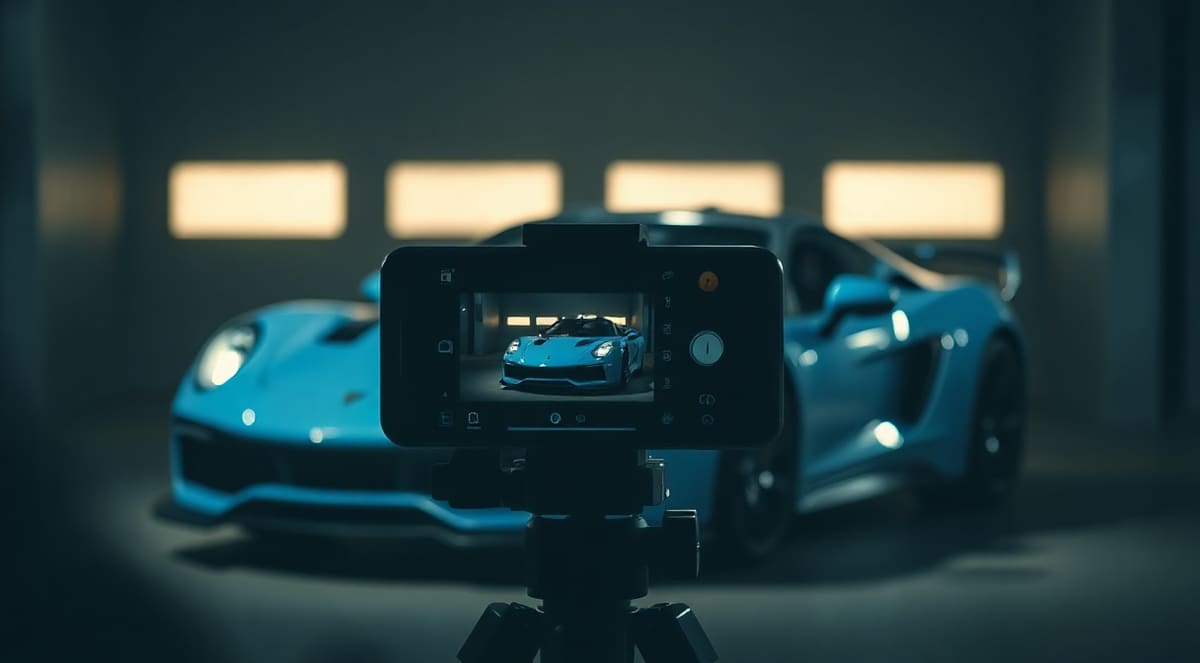
The perfect car photo for AI editing is a well-lit 3/4 front or side shot of the whole car, taken from roughly hood height in soft, even daylight. Give the AI a clean, sharp view of the full body and it can modify wheels, color, stance or body kits convincingly; give it a dark, cropped or cluttered shot and even the best model will struggle.
AI editing quality is mostly decided before you ever open the app. The model can only transform what it can clearly see — so the ten minutes you spend on the photo determine how realistic every render afterward looks.
What angle works best for AI car editing?
The 3/4 front angle — standing at about 45 degrees off the front corner — is the gold standard. It shows the face, the side profile, the wheels and the stance in a single frame, which is exactly the information an AI needs to modify any of them. A straight side profile is the best alternative, especially if stance and wheels are your focus.
Follow this sequence:
- Position the car with space around it — an empty car park, wide driveway or quiet street.
- Stand at the front 3/4 position, far enough back that the entire car fits with margin on every side.
- Crouch to roughly hood height. Phone shots from standing eye level distort proportions; low shots exaggerate them.
- Turn the front wheels slightly toward the camera so the wheel face shows (optional, but it helps wheel edits).
- Hold steady and shoot several frames, then pick the sharpest.
What lighting should you use?
Soft, even light — an overcast day or the hour after sunrise / before sunset. Harsh midday sun creates hard shadows and blown-out reflections that AI edits inherit; night shots hide the body detail the model needs. Avoid direct low sun into the lens, and watch for your own reflection and shadow on the paint of light-colored cars.
Which mistakes ruin AI edits?
These are the ones we see most, roughly in order of damage:
- Cropped bodywork — a cut-off bumper or roof gives the AI nothing to anchor to. Include the whole car.
- Underexposed or blurry shots — detail the model can't see, it can't preserve.
- Cluttered backgrounds — other cars, poles and fences overlapping the body confuse edges. A plain wall or open space is ideal.
- Extreme angles — directly head-on, dead-rear or high top-down shots hide the profile that most mods change.
- Heavy filters — Instagram-filtered or over-HDR'd images distort colors before the AI even starts. Upload the clean original.
- Dirty car — mud and heavy dust read as texture; a quick rinse noticeably improves color and wrap renders.
How does this apply to ModDrip specifically?
ModDrip accepts JPG, PNG or WebP up to 10MB, and its own guidance matches this article: a well-lit 3/4 front or side angle of the whole car gives the best results. Because ModDrip preserves your car's body, angle and background across edits, a strong source photo pays off repeatedly — every wheel, wrap, stance and scene render in a chained editing session builds on that one original. If a generation does fail, your credits are refunded automatically, but a good photo means you rarely find out.
One shot is genuinely enough. You don't need a walkaround set — one clean 3/4 front image can carry an entire virtual build, from wheels through wrap to a final Instagram-ready scene. If you're just getting started, signing up gives you 5 free credits to test your photo immediately.
Does photo resolution matter for AI editing?
Yes, up to a point. A sharp modern phone photo is plenty — you don't need a DSLR. What matters more is focus, exposure and framing; a crisp 12MP shot beats a blurry 48MP one every time. Keep the file under ModDrip's 10MB limit.
Can I use an old photo from my camera roll?
You can, as long as it meets the checklist: whole car visible, decent light, minimal filter, reasonably sharp. That said, five minutes shooting a fresh 3/4 front photo almost always produces better renders than a photo taken for other purposes.
Should the photo show my license plate?
It's fine either way for editing quality, but if you plan to share renders publicly, shoot with the plate covered or angle the car so it's less prominent — easier than editing it out later.
Written by the ModDrip team. Last updated August 2026.